Inspiration
I wanted to have a mechanical keyboard but the commercial options were out of my budget. Having just learned how to solder in my class, I also wanted to practice my skills.
Building Process
3D printing
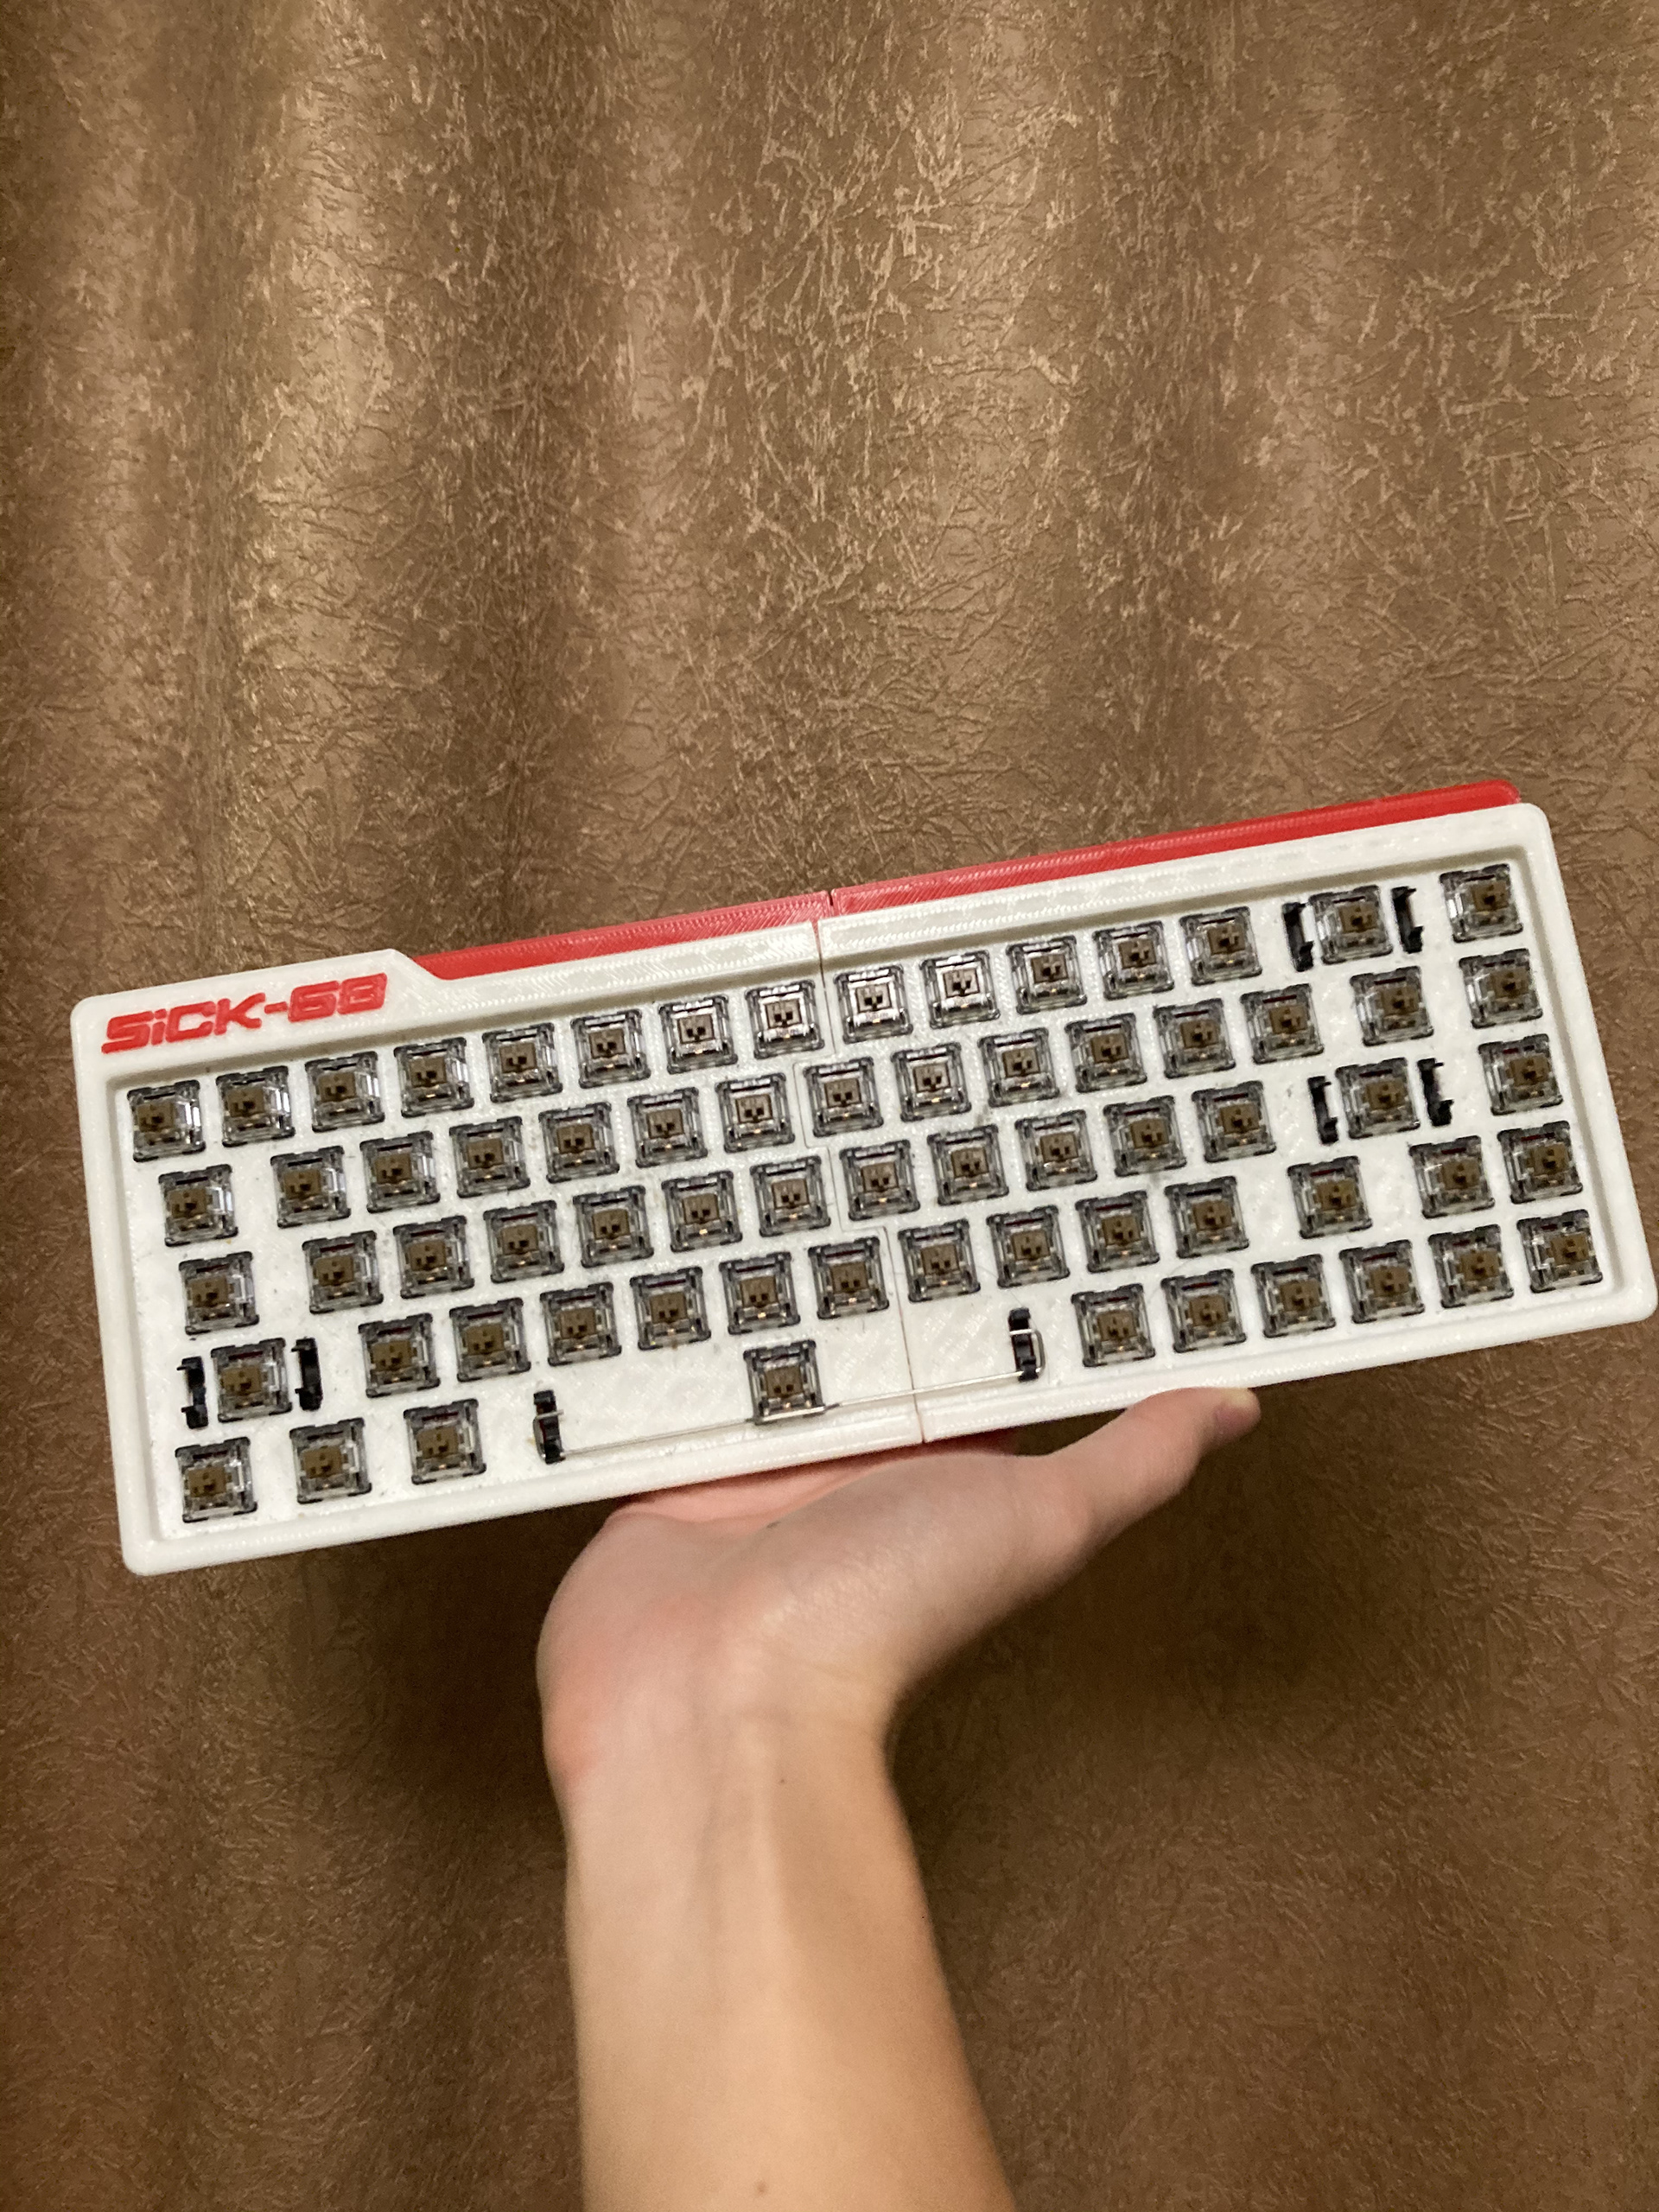
Since this was my first time making a keyboard, I decided to use a premade design I found on Thingiverse. Due to the smaller size of my printer, the print required printing 4 different pieces and gluing them together using pins.
Soldering
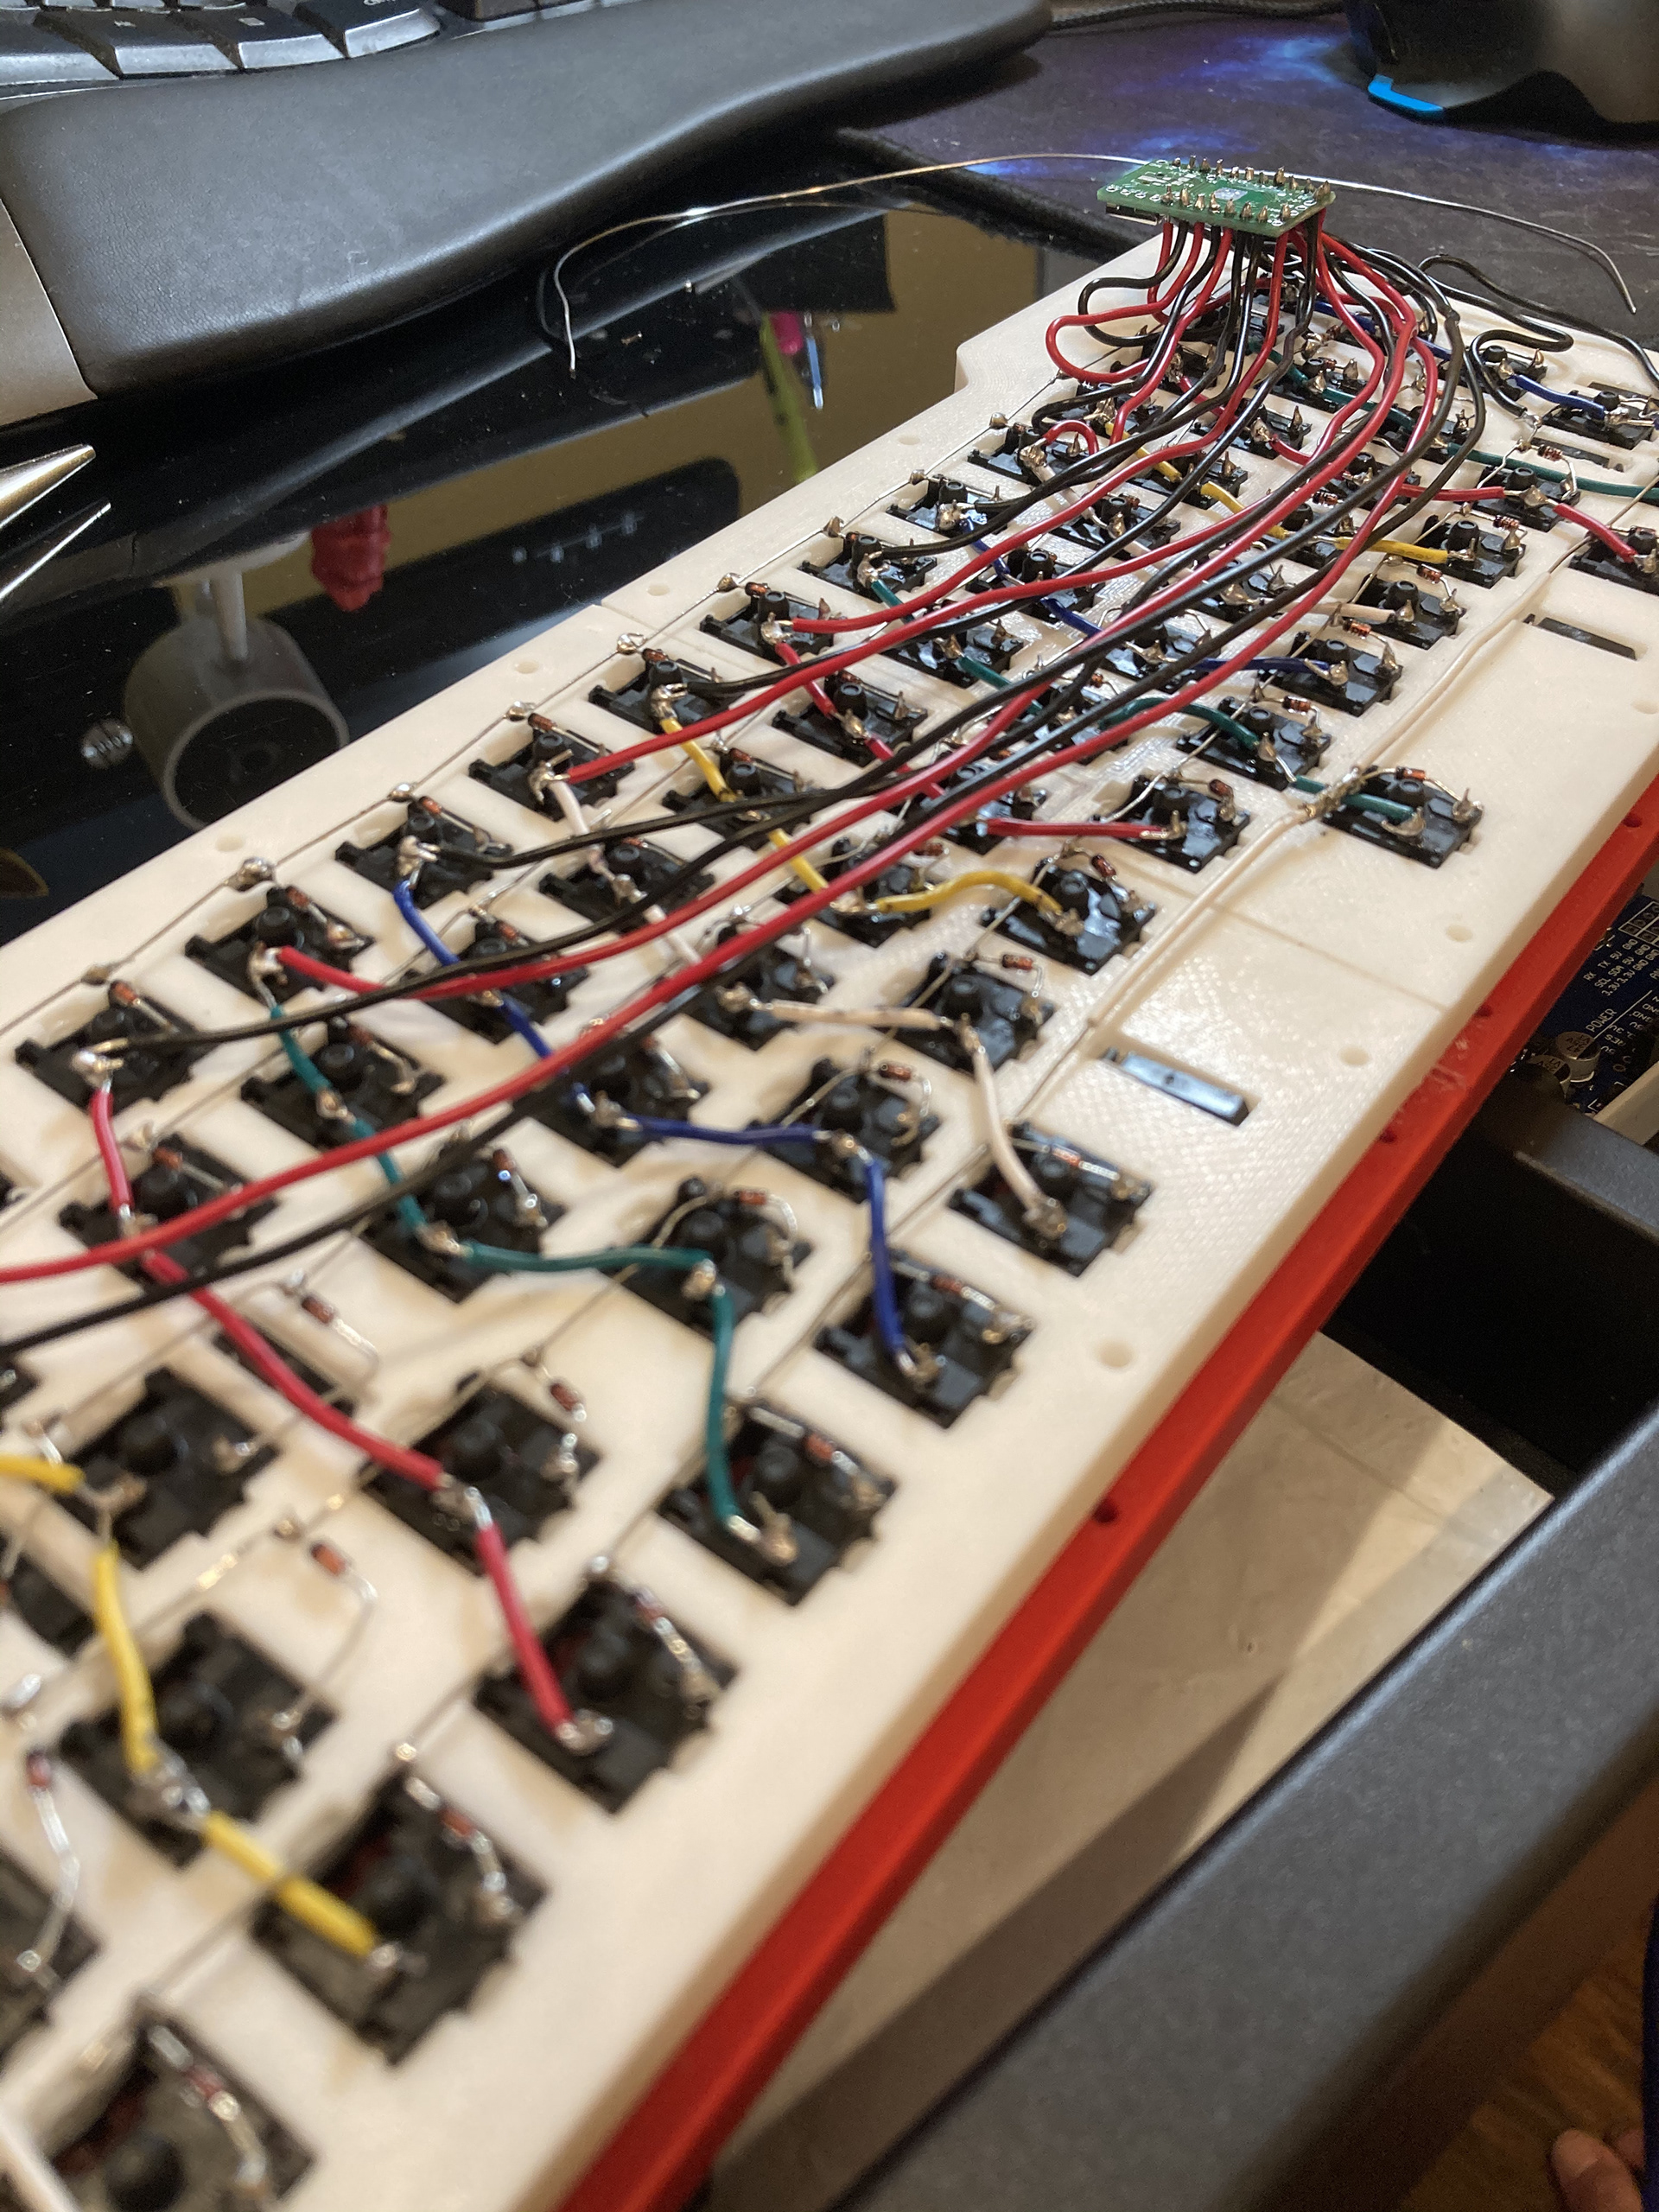
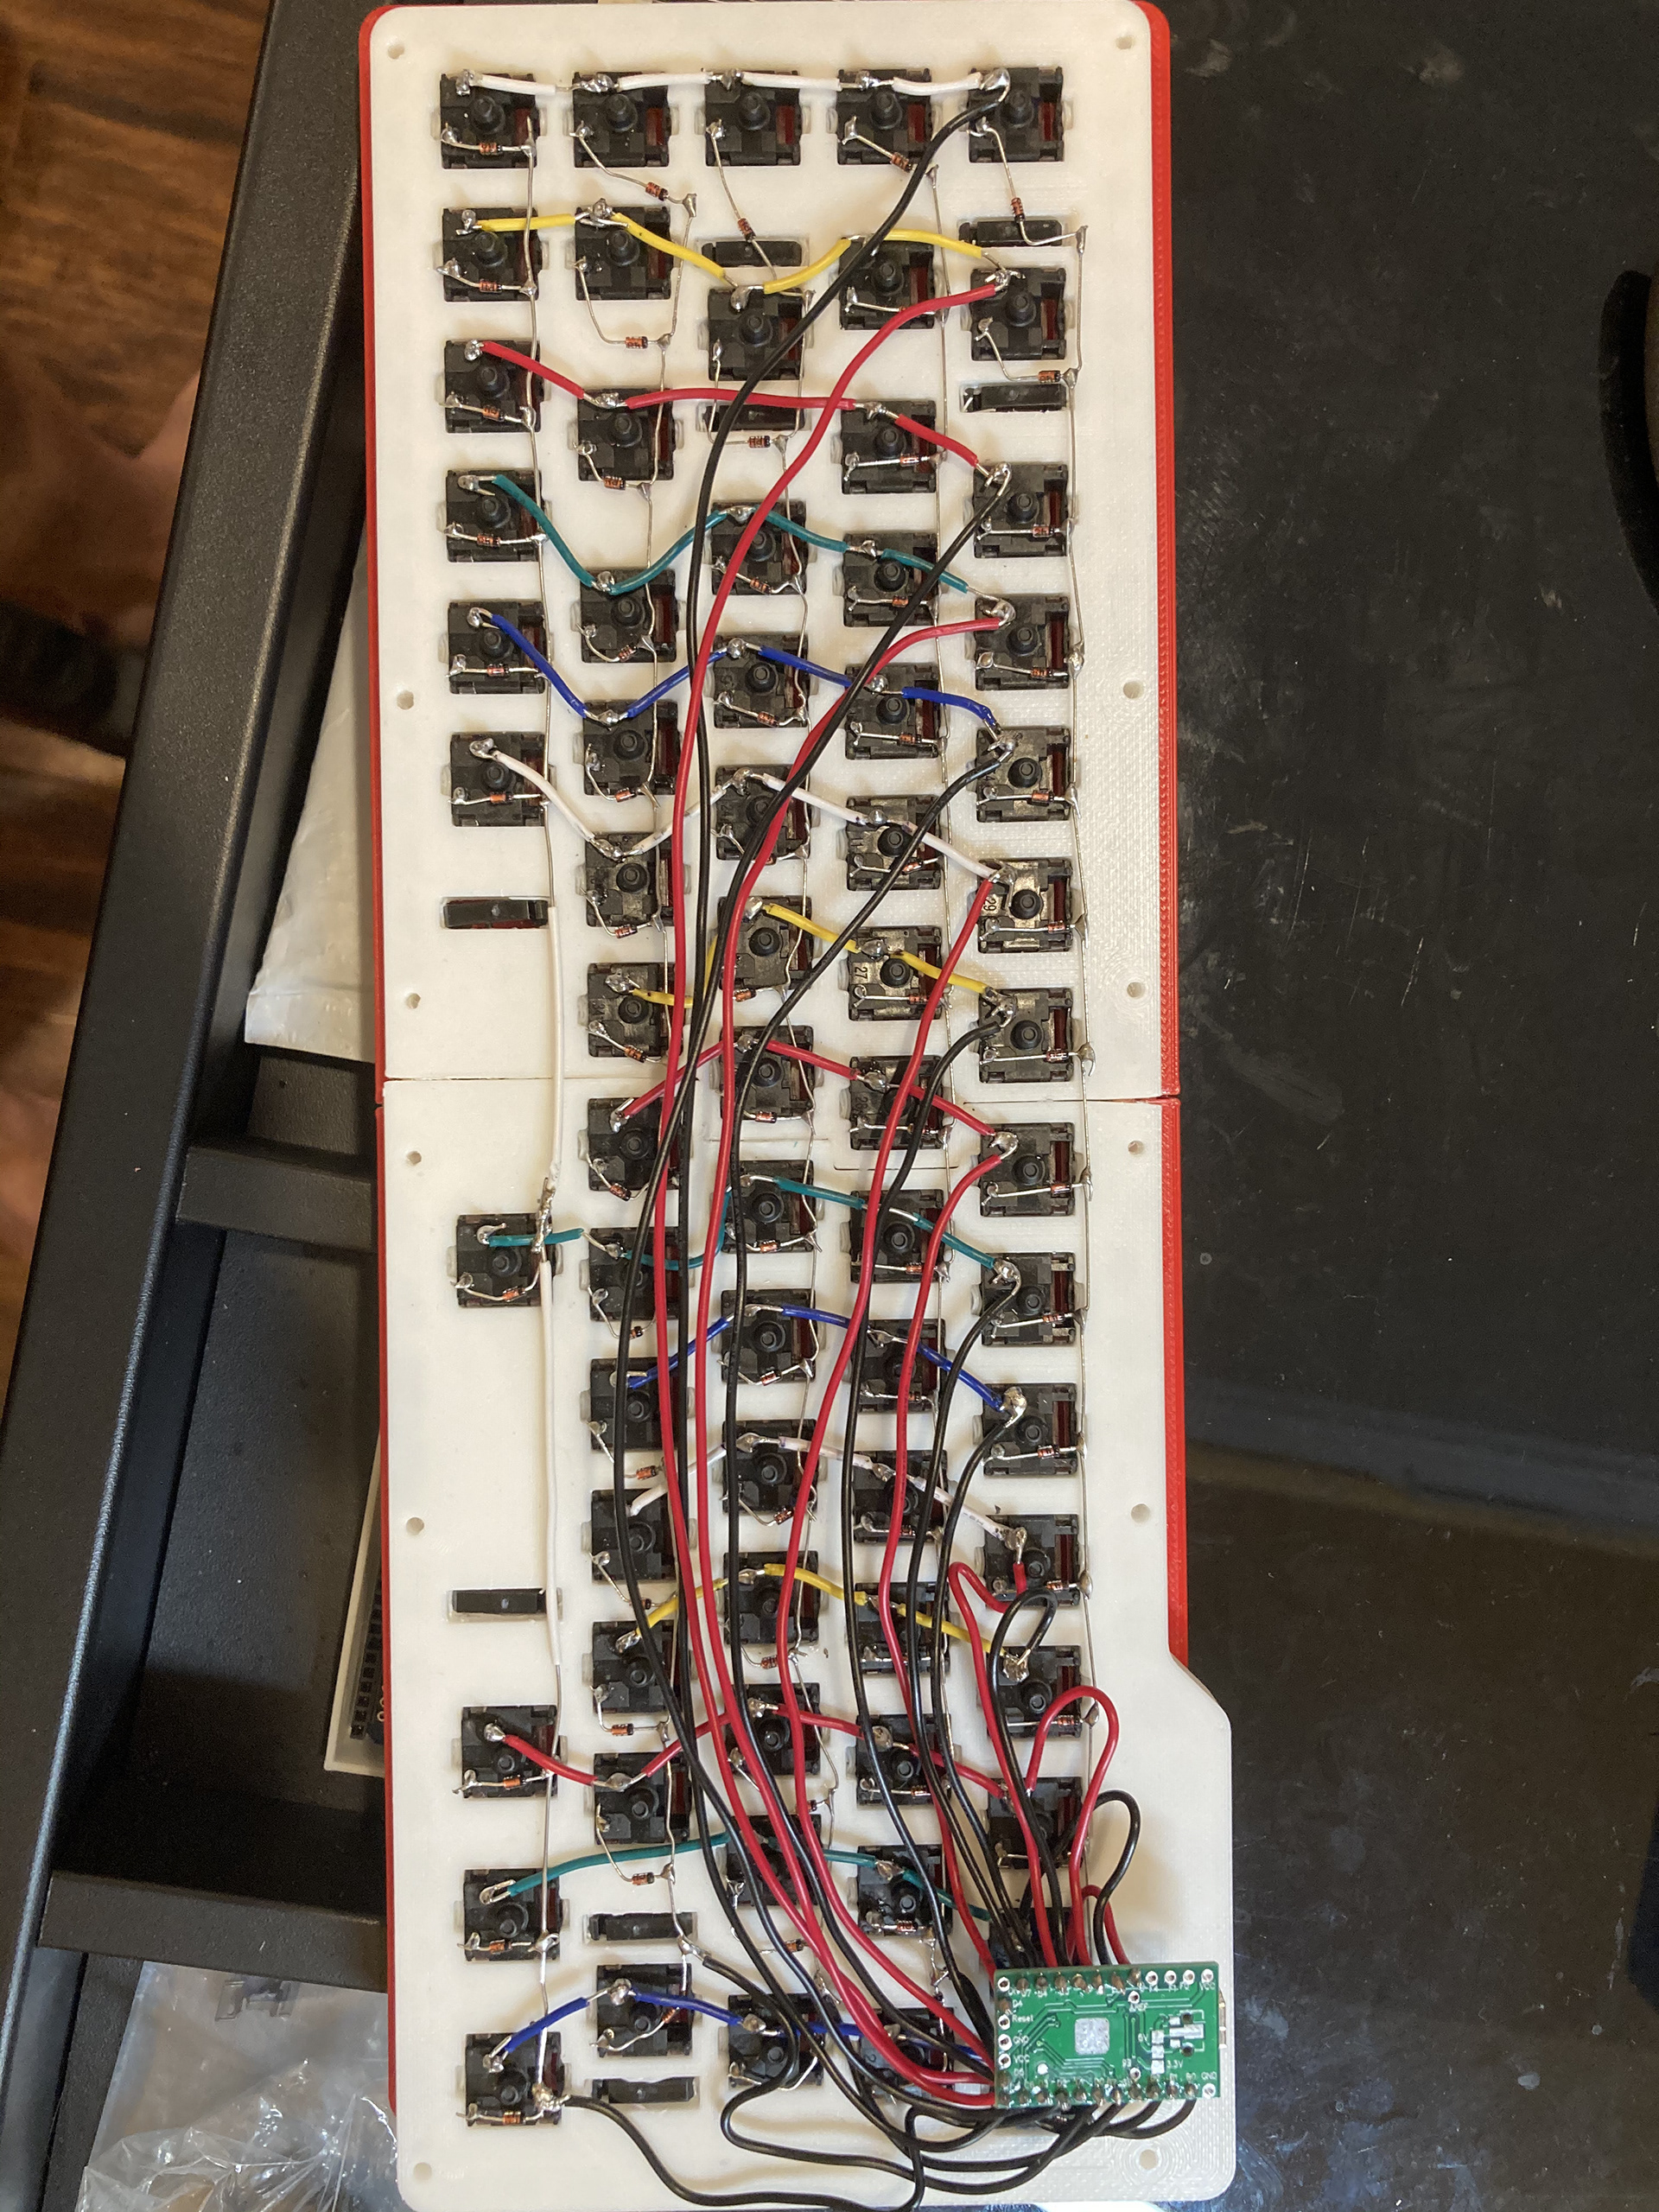
Using my father's decades old soldering iron, I spent close to 10 hours painstakingly hand soldering all the diodes and wires. To my surprise, I only made one mistake during this process -- a flipped diode. This process was easy but just took a long time to finish. However, I do think I got significantly faster with soldering and will likely be able to complete another one (currently looking into custom designing an orthodox keyboard) in less than half the time.
Software
The final software configuration were also pretty straightforward since it was well documented online. I downloaded the QMK firmware repository and made a keymap file to define the keyboard layout. From there, I compiled the firmware and flashed it onto the microcontroller using QMK Toolbox.
More pictures
