Introduction
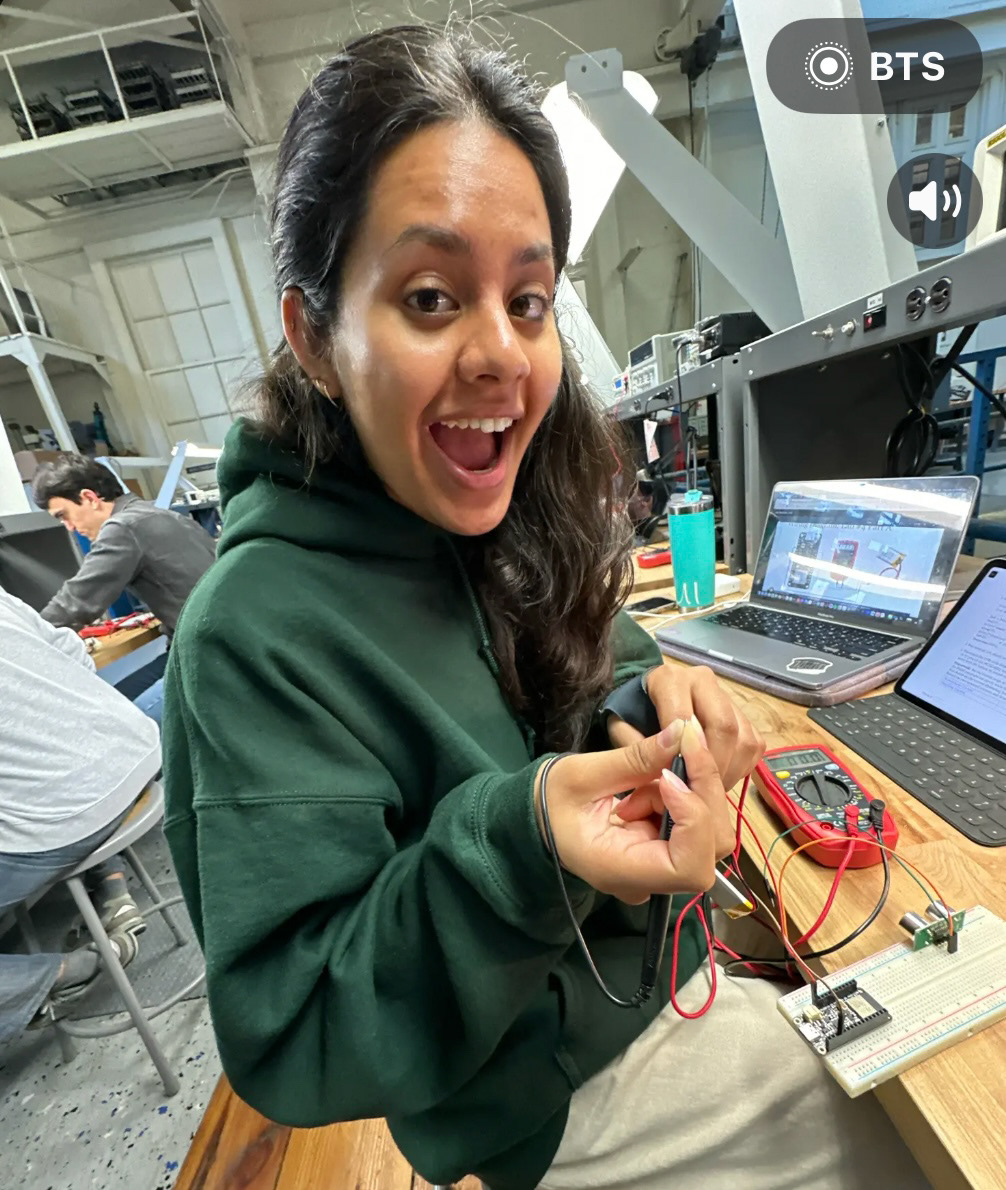
The Robotic Roaster was our final project for my ME100 Electronics for the Internet of Things class. My partner and I discussed several ideas involving IOT and human interaction and eventually settled on something we both use on the daily, a coffee machine. Starting from a basic mug heater, it evolved to host a variety of electronic components including a heating element, a load cell, and several motors to create a cohesive automated coffee machine.
Requirements
- Make use of sensing electronics
- Make use of actuation electronics
- Integrate wireless communication
- Utilize my Nespresso Pixie coffee machine
Features
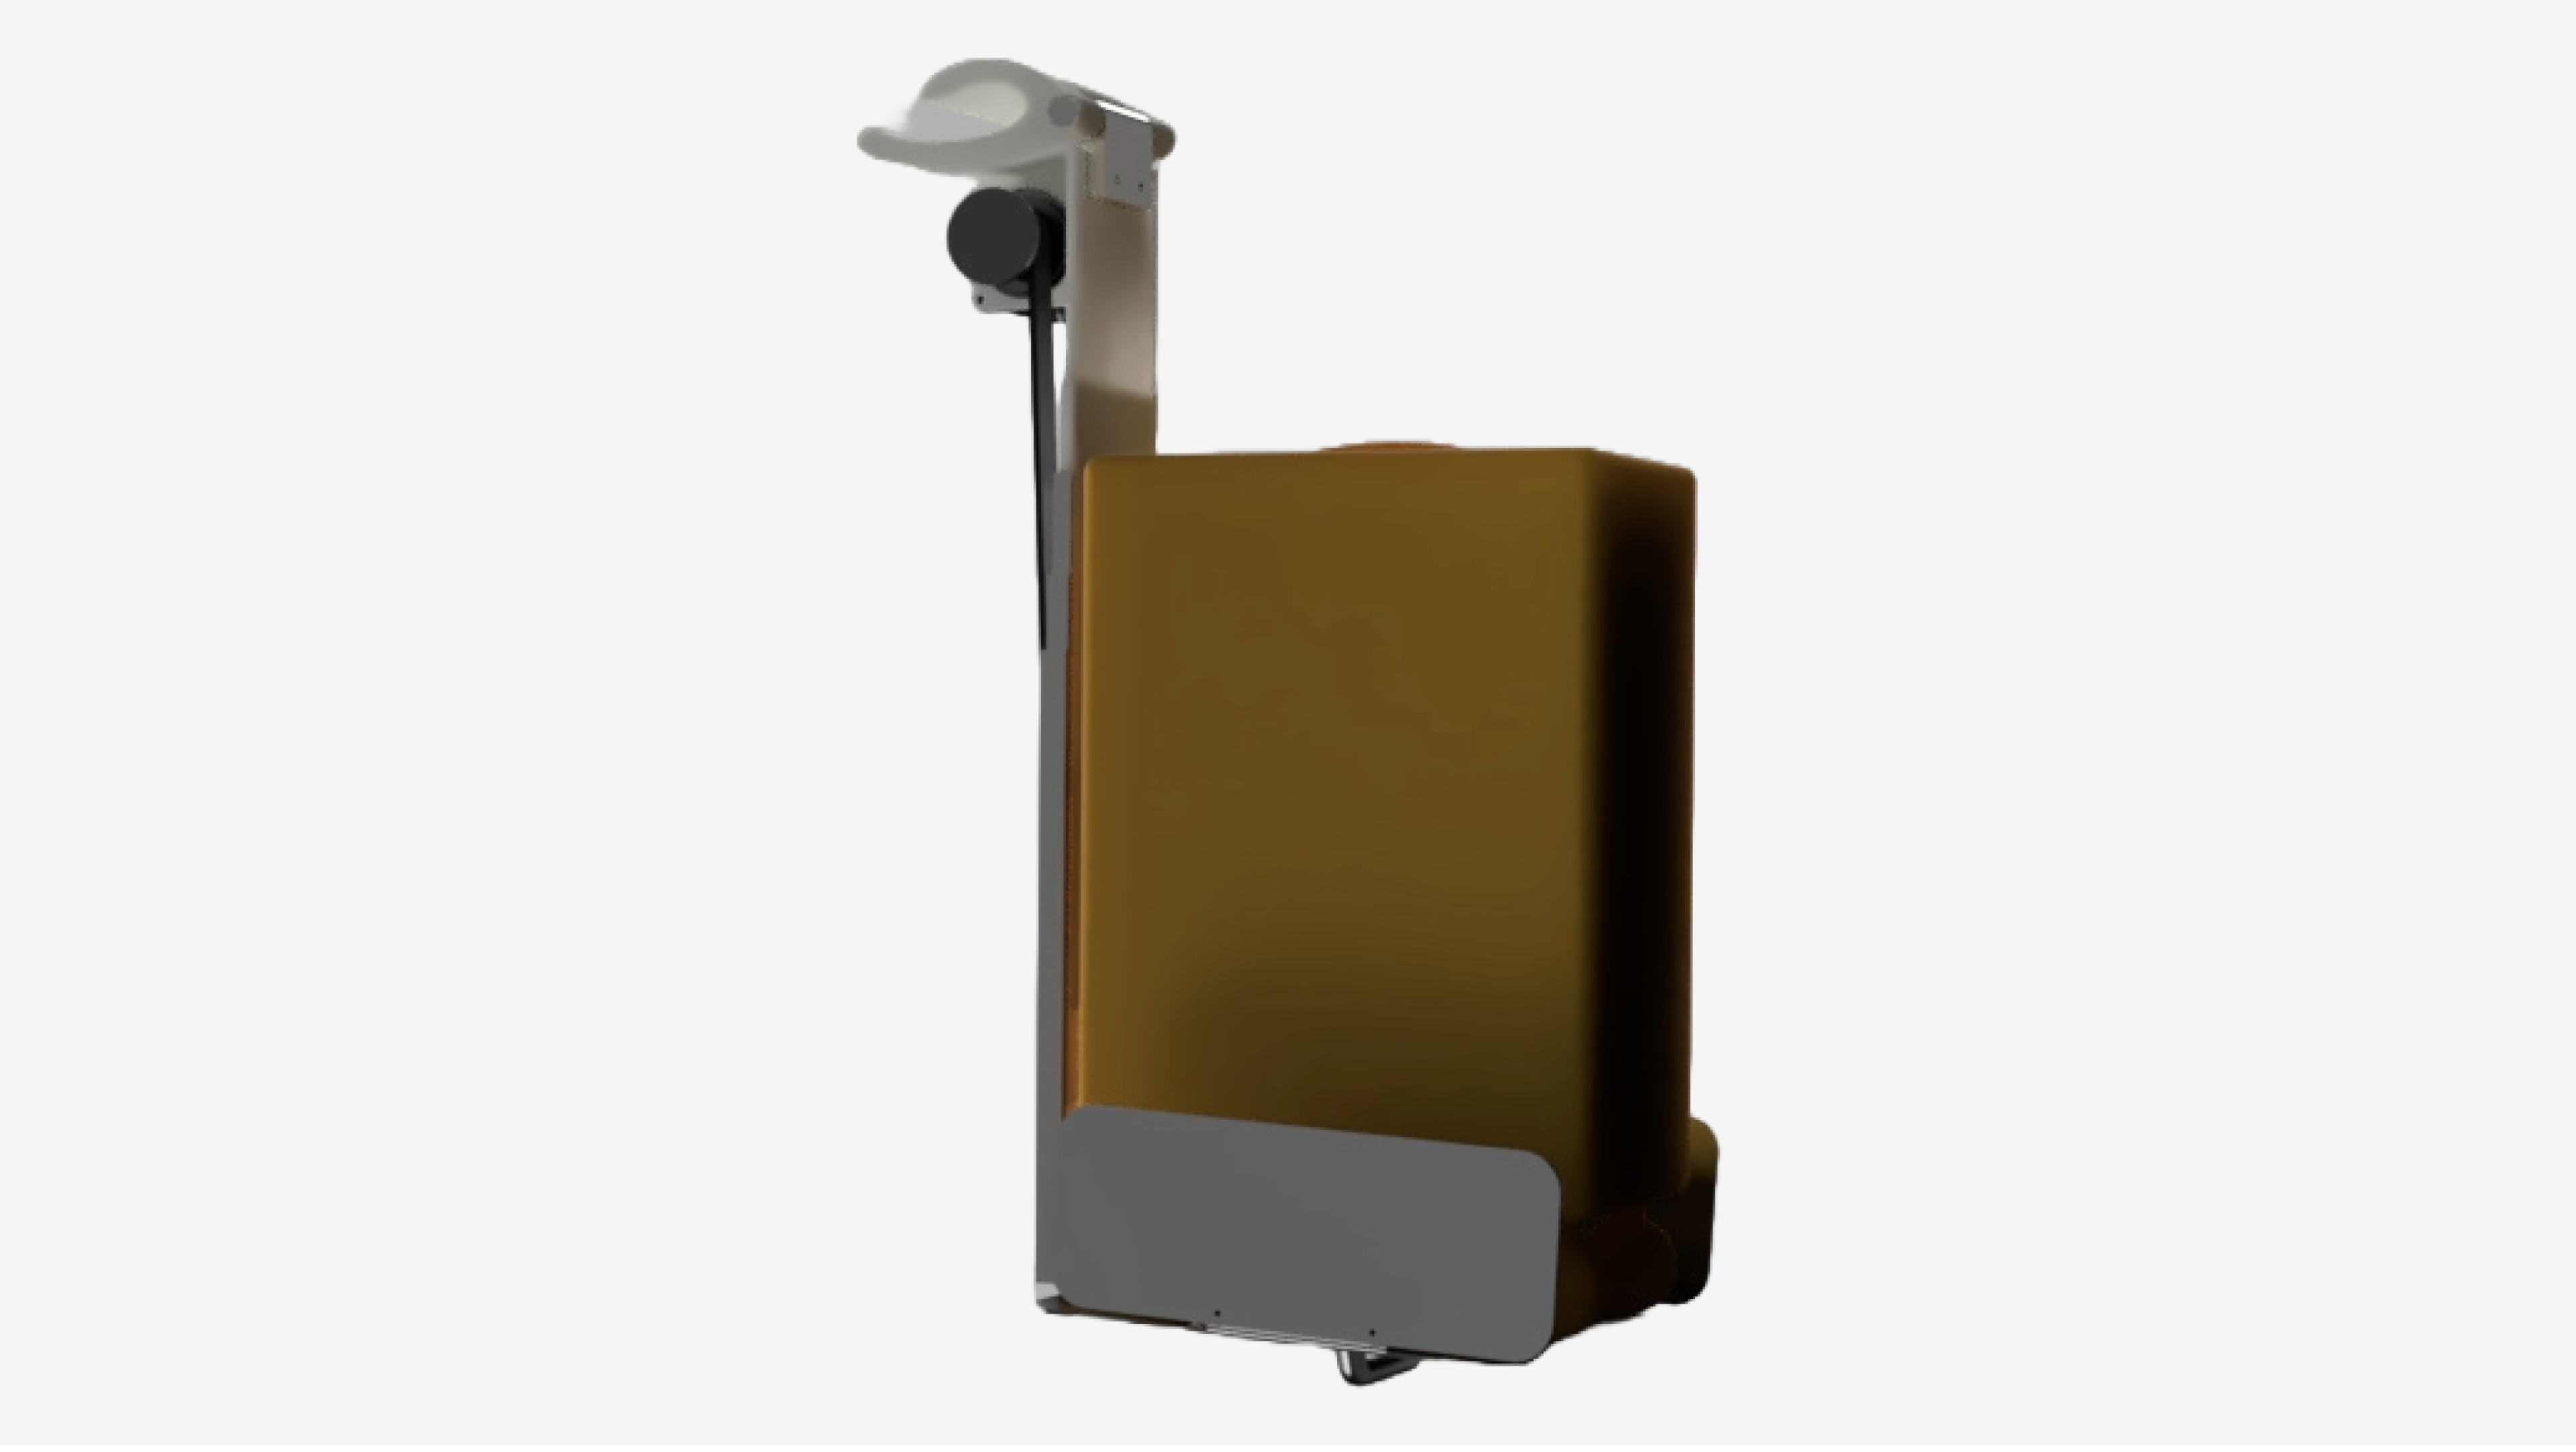
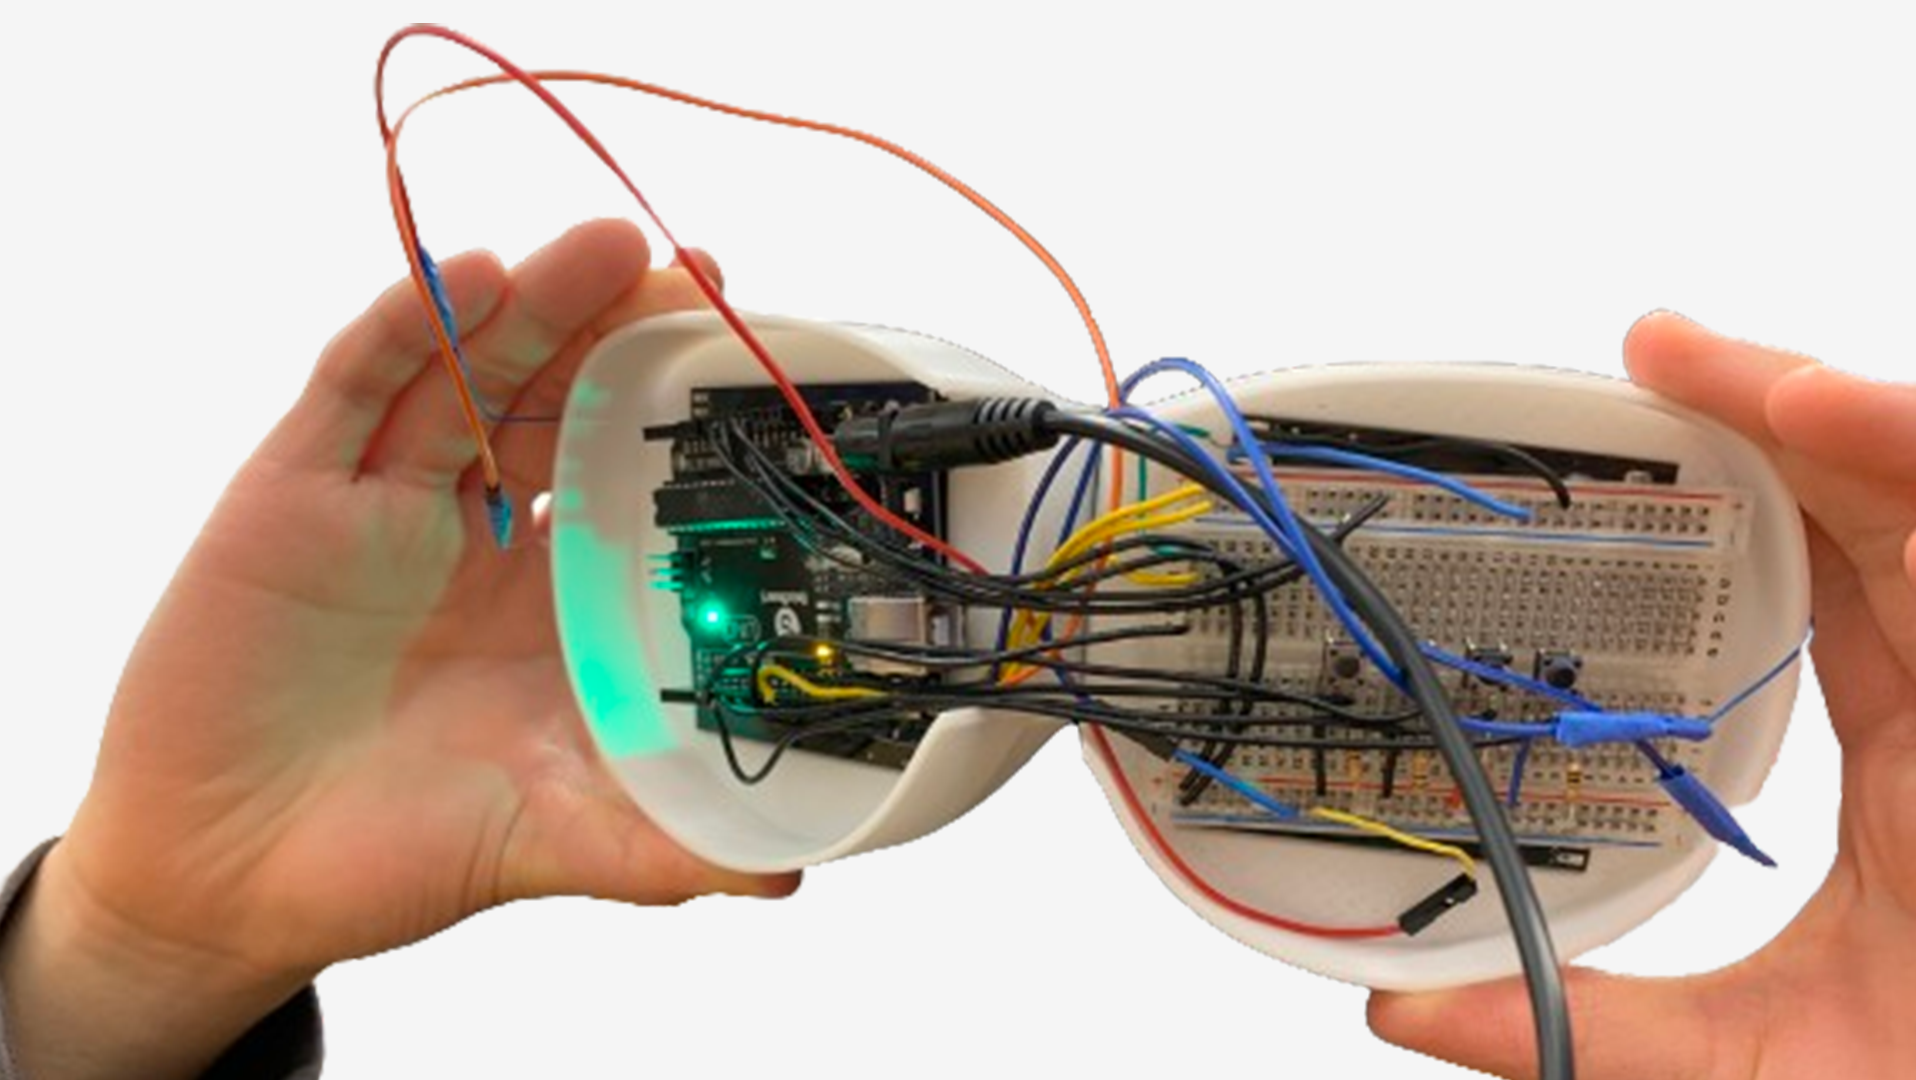
This design incorporates four main features: a motor to press the button for starting the coffee machine, a load cell to measure weight, a motor for stirring, and a heating element to warm the mug. We used DC gear motors coupled with DRV8833 motor drivers. When initiated wirelessly, the first motor spins to press the coffee machine button. Once the load cell detects sufficient weight, the mixer and heating element activate to keep the coffee warm and stirred.
For coding, we used Arduino to control the ESP32 microcontroller. Connected to Wi-Fi, the microcontroller receives input from an IP-connected device through a simple web interface to start the coffee-making process.
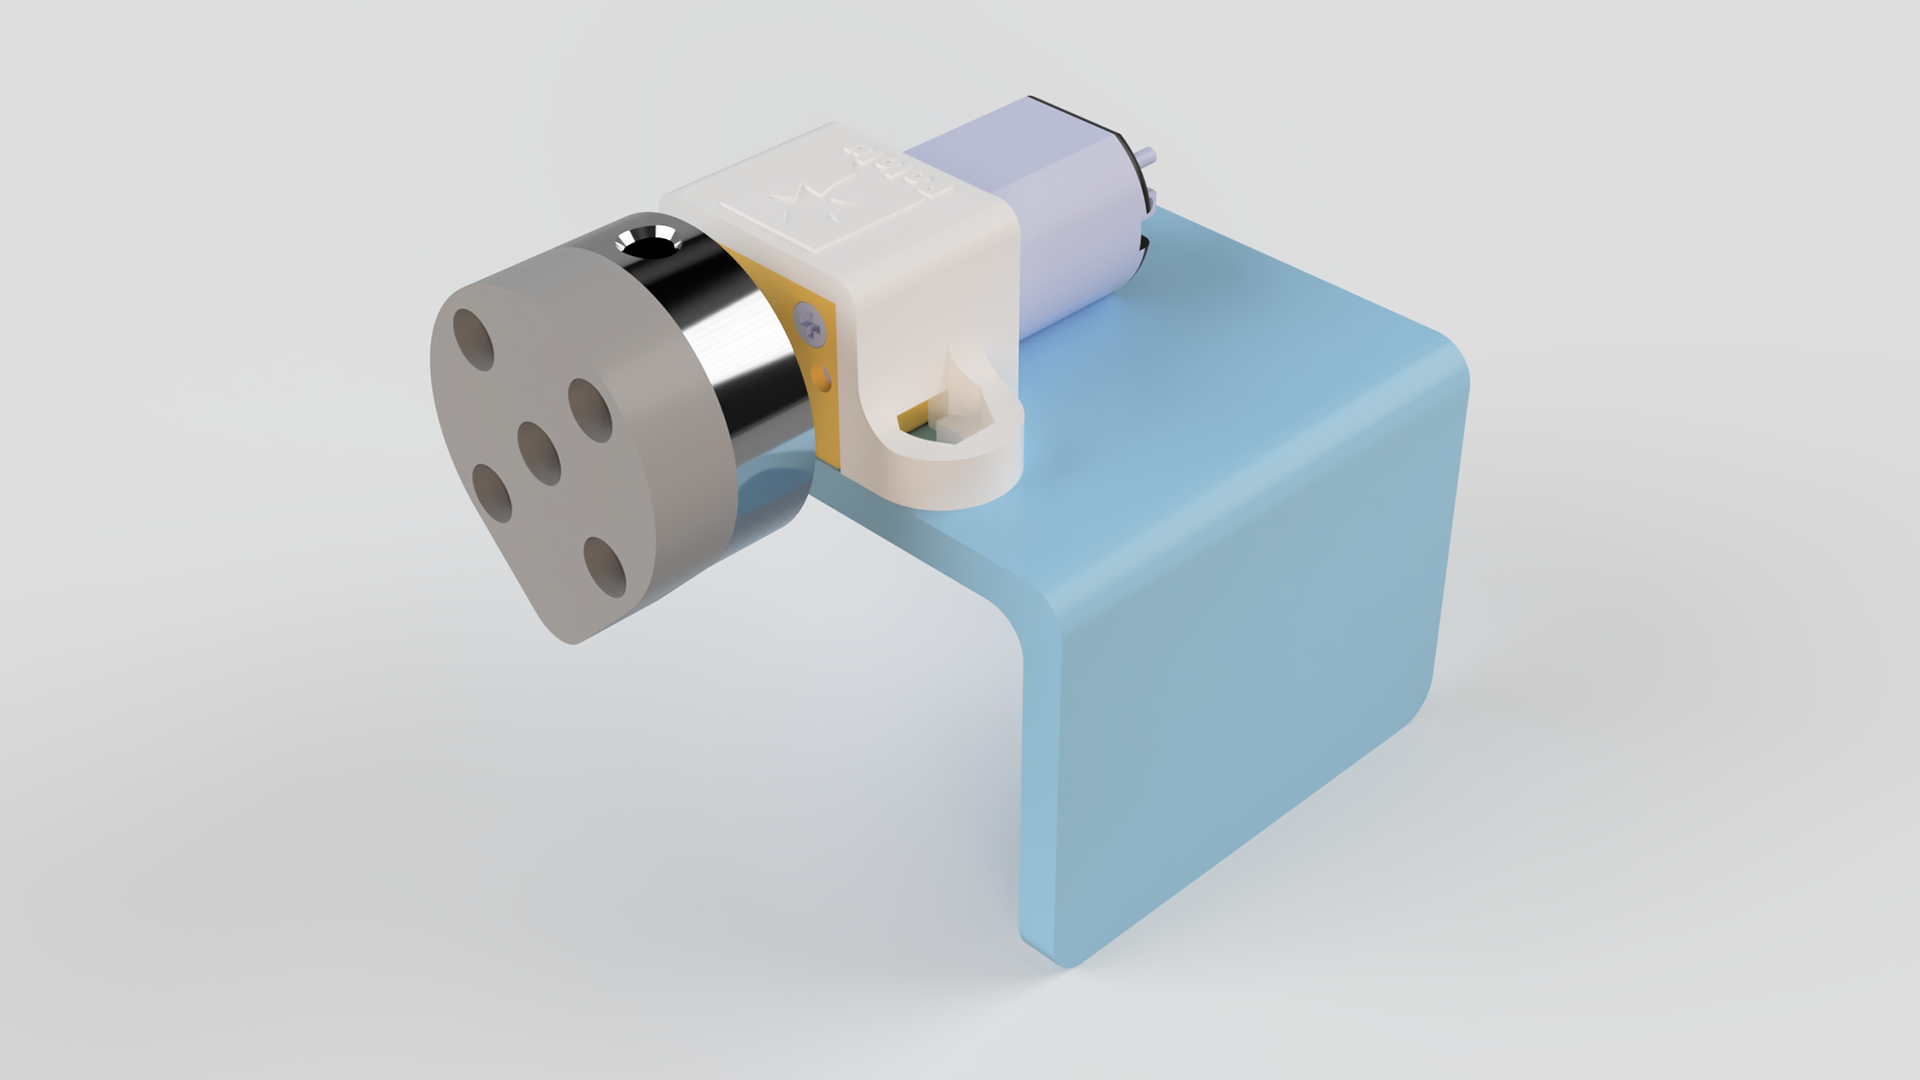
Button press to start pouring
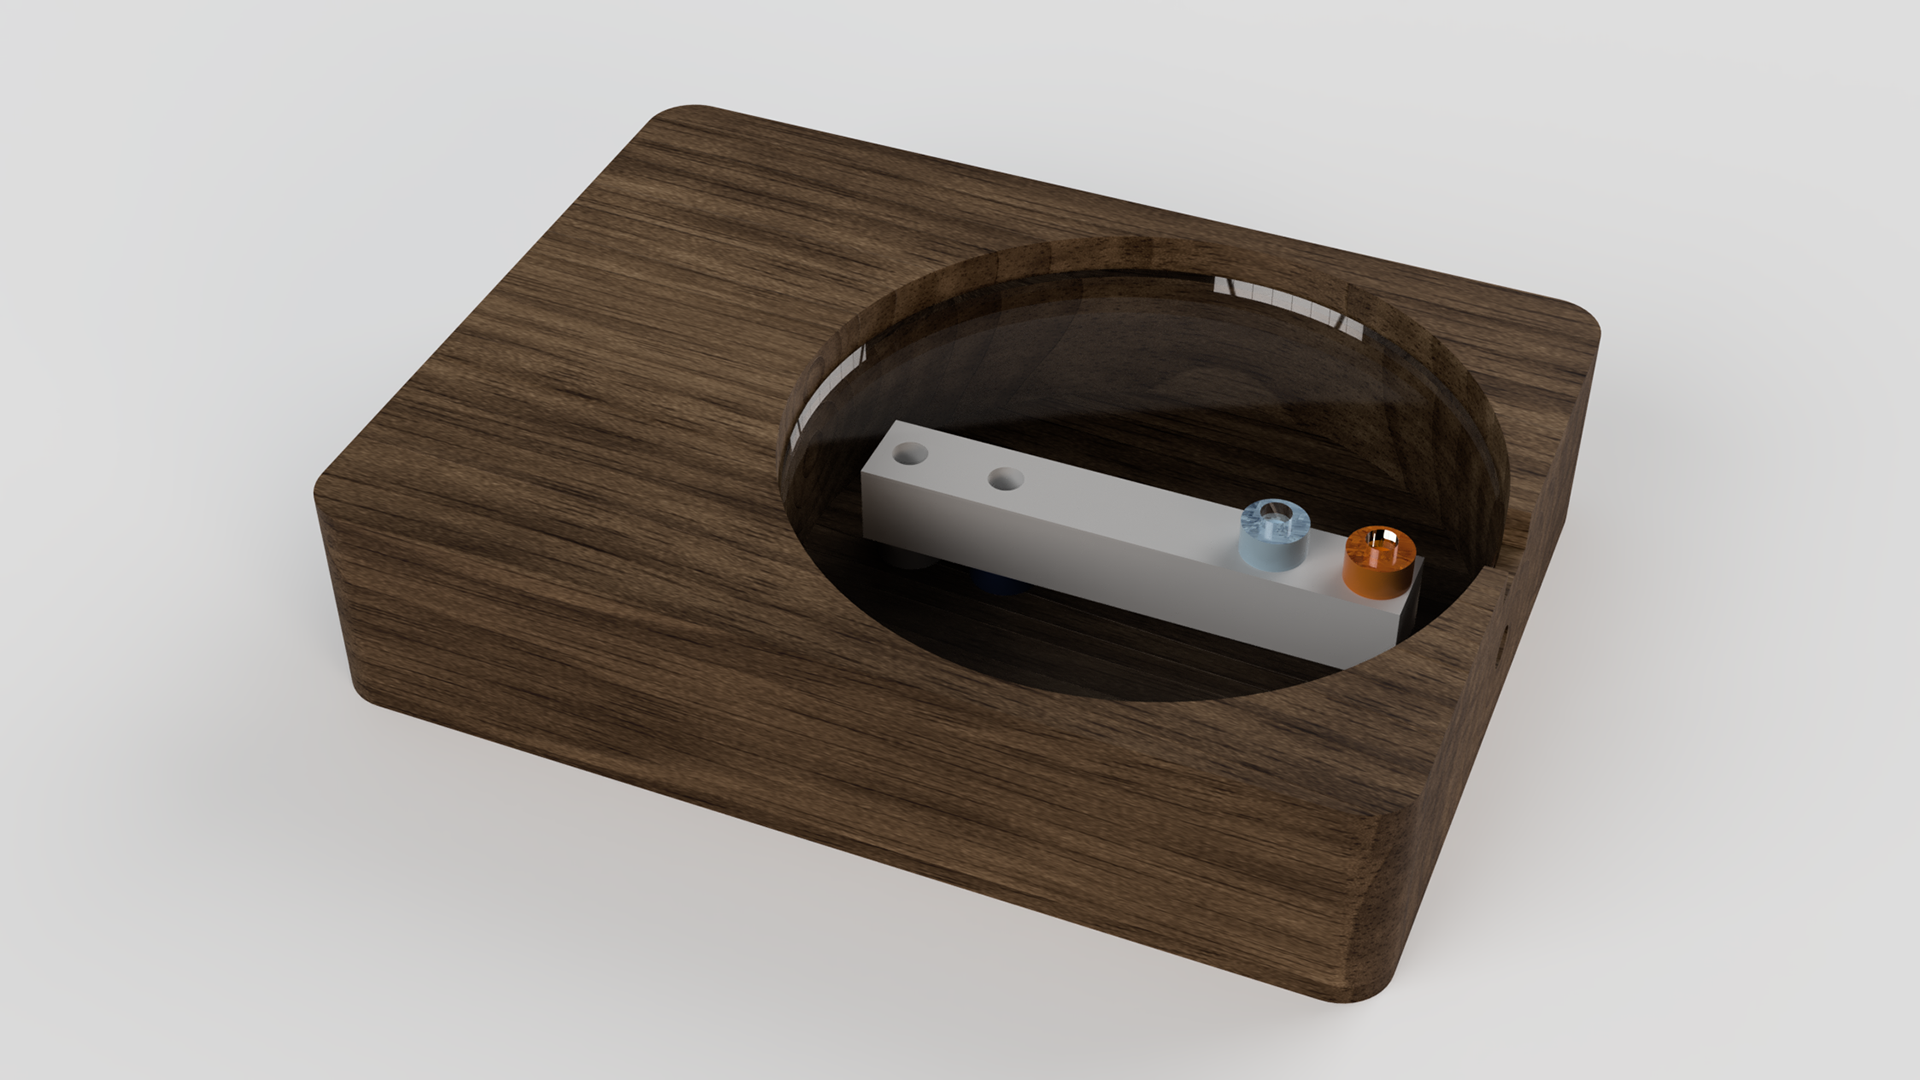
Base with integrated load cell below coaster
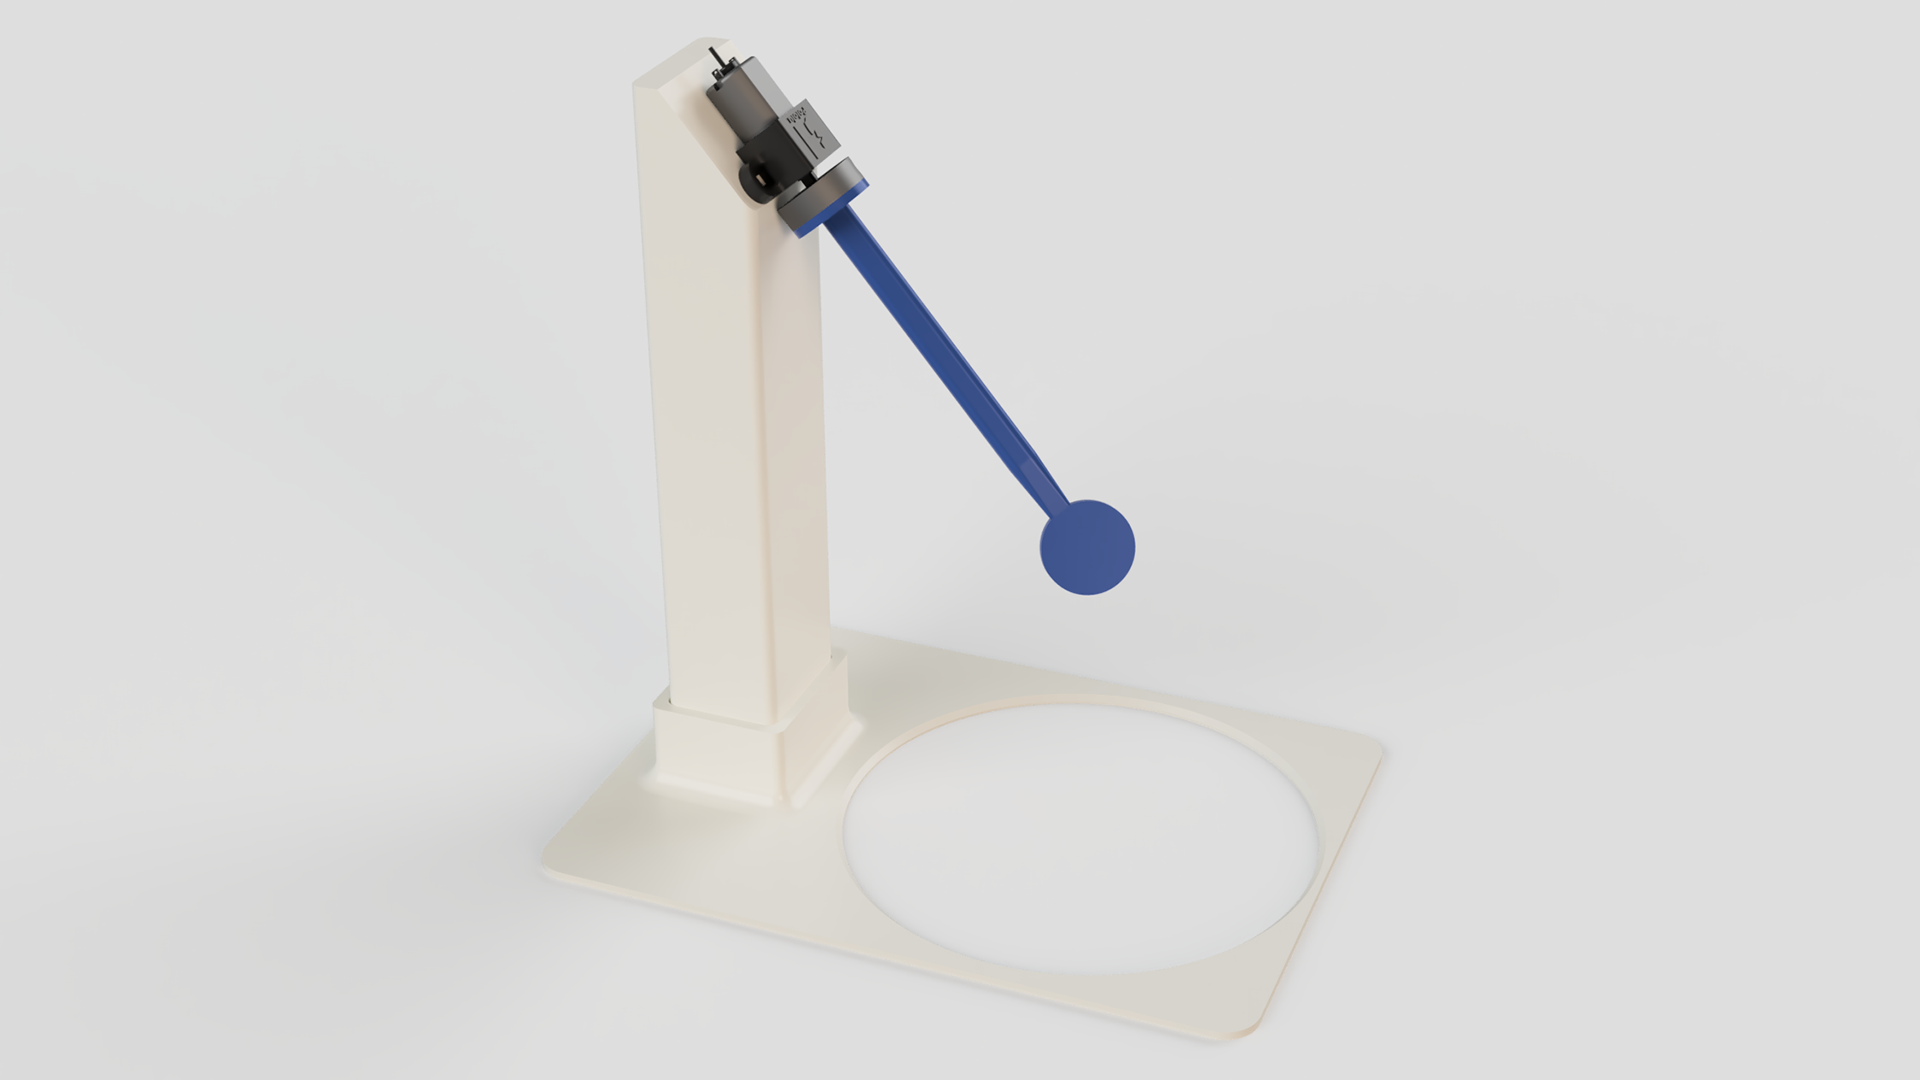
Mixer attachement to stir coffee
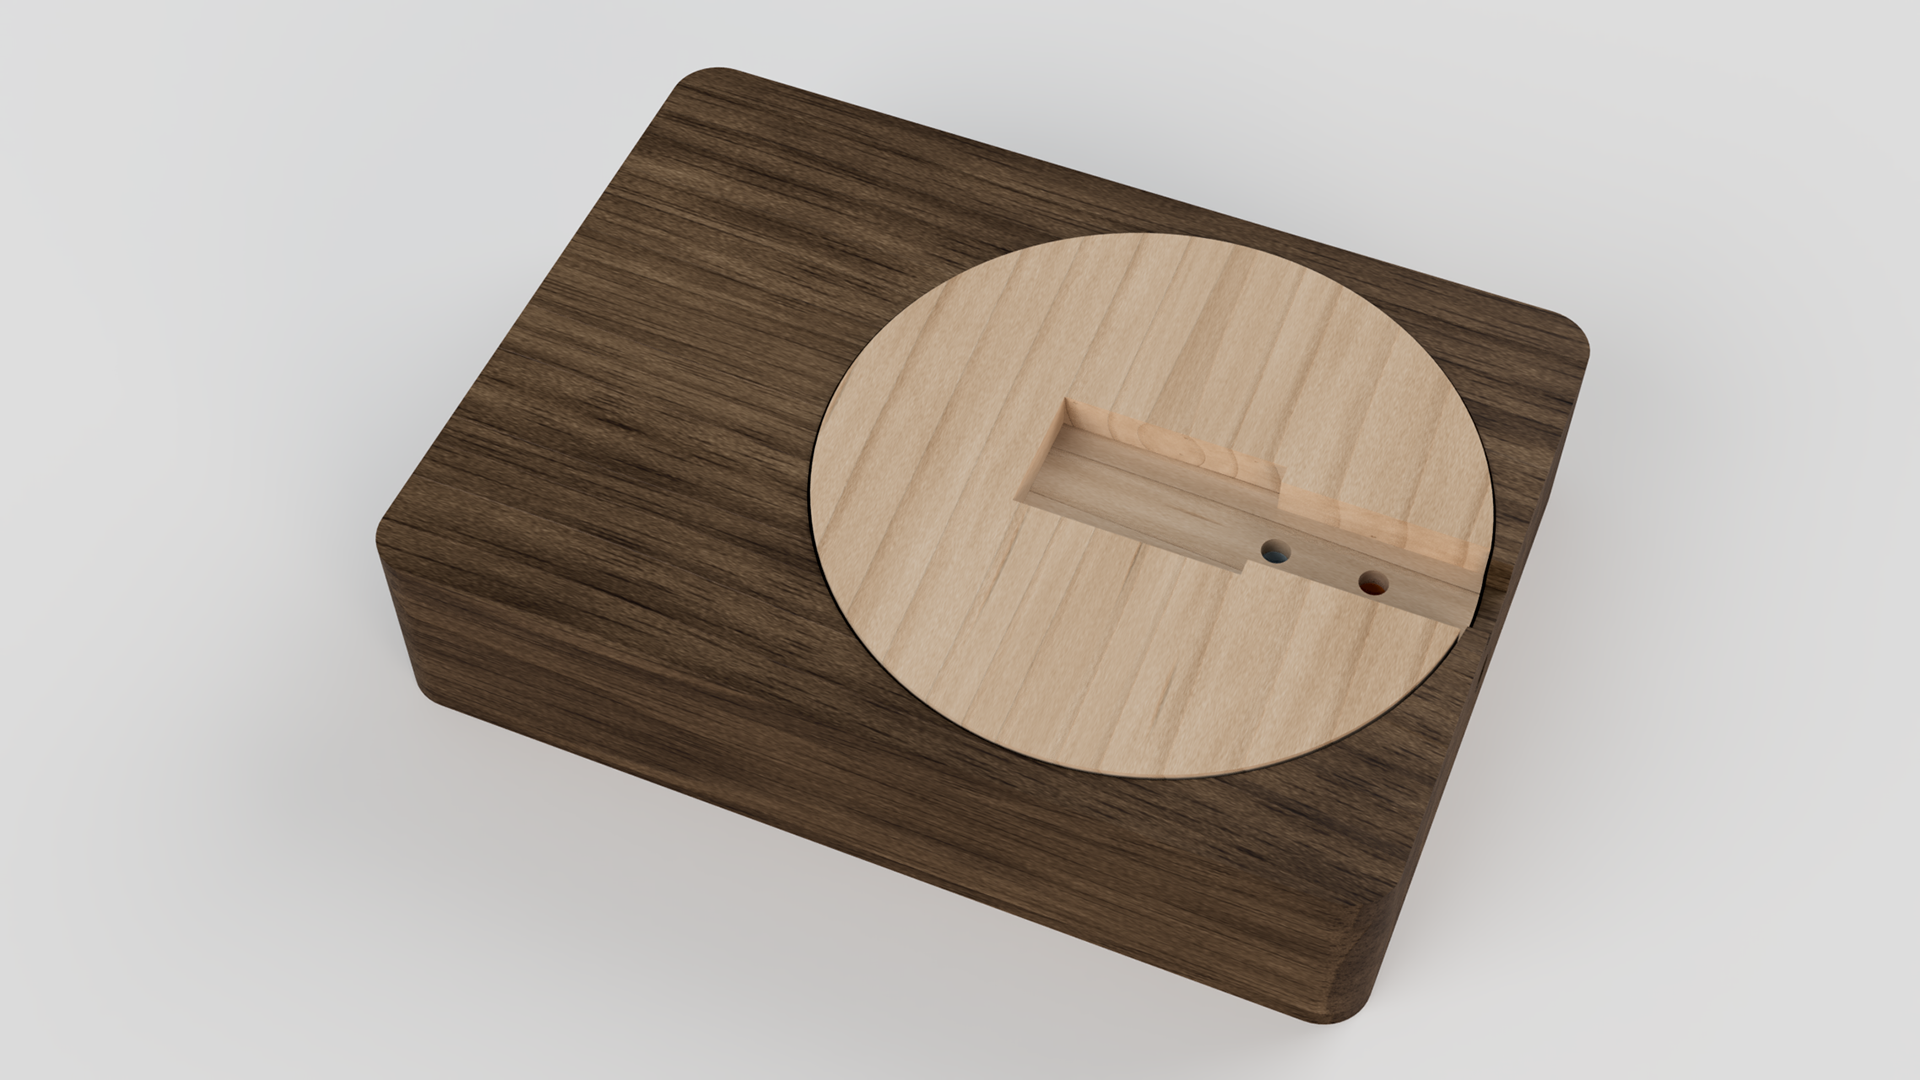
Coaster with heater integration
Challenges
Over the course of this one month project, we faced several challenges that required us to think outside of the box. Most challenges occurred on the electronic and coding aspects.
Relay incompatible
We tried using a relay for the heater to connect it to a logic input and to supply it 12V instead of just 3.3 or 5 from the ESP
This didn’t work so we ended up using an H-bridge for the power issue and just DigitalWrite for the logic.
This didn’t work so we ended up using an H-bridge for the power issue and just DigitalWrite for the logic.
Load cell difficulties
We initially bought half load cells to help minimize the size of the base. However, the half load cell required a 4 way set up to be reliable. When testing with 1 load cell, the measurements contained spikes which made the code unnecessarily complicated. We settled with using a full load cell for easier implementation.
Thonny troubles
During the course of the class, we were taught Python using Thonny to control the ESP32 microcontroller. However, all of the HX711 libraries were only fully compatible with the Arduino IDE. In the middle of the project, we decided to pivot and learn C++ for Arduino coding.
Conclusion
This project was something I've thought about for a long time. As a long time coffee drinker, I've always wanted a way to simplify this process and I'm super proud of how this project turned out. Going forward, I plan to finalize some parts to ensure repeatability and robustness.
Skills learned: Implementing load cells, heating elements, and motors through Arduino, Controlling ESP32 over wifi connectivity
Skills used: Laser cutting, 3D printing, Arduino code, OnShape, Fusion360, ESP32, HX711, Load cell

